How to Replace a Laptop DC Power Jack — Step-by-Step Guide
The charging port is fragile. It takes constant physical abuse from cables being shoved in and pulled out every single day.
One day, the connection simply dies. You might notice it first when you have to hold the cable at a specific angle just to get the LED to blink.
A loose jack wobble is a bad sign. If you smell burnt plastic near the charging port, stop plugging it in immediately because that indicates an active short circuit.
Identify the Symptoms and Jack Type
Diagnosis comes first. You will likely see no charge at all if the internal pin has snapped or the solder joints have cracked away from the motherboard.
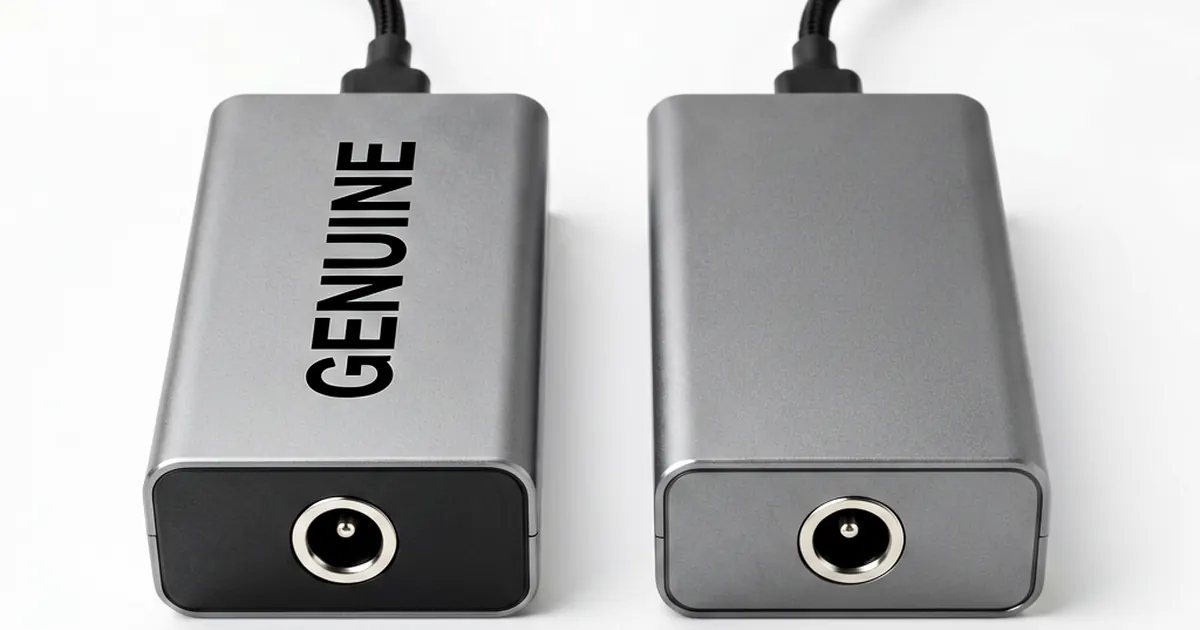
Before ordering parts, identify your specific connector size. HP models often use a 5.5mm x 2.5mm barrel, while older Dell units rely on a 7.4mm x 5.0mm style with a sensitive center pin. If you are working on an ultra-thin machine like a modern XPS, you might encounter the smaller 4.5mm x 3.0mm variety.
Sometimes, the jack is a modular component that plugs into the motherboard via a wire harness. For these builds, grabbing an HP Pavilion DV3 Series DC Power Jack Cable is much faster than attempting a difficult surface-mount repair.
Check your manual. Precision matters here.
Required Tools for the Job
Don't start without a proper kit. You cannot do this with a kitchen knife or a cheap multi-tool from a gas station.
You need a Phillips #0 screwdriver and likely a T5 or T6 Torx driver depending on your laptop's chassis screws. Grab a plastic spudger to pry the casing without marring the finish, and always work on an antistatic mat to prevent ESD damage to sensitive ICs.
Soldering is the most critical stage if the jack is soldered directly to the PCB. You should use a 30W soldering iron with fine tips; aim for 350-380°C when working with lead-free solder, though you can drop to 320-340°C if your replacement part uses traditional leaded solder.
A multimeter is non-negotiable. You must verify the voltage before you close the case and risk a short.
Disassembly Protocol
Safety is paramount. Always remove the battery first to ensure no current is flowing through the rails while you work on the internals.
Ground yourself using an ESD strap or by touching a grounded metal object frequently. Once the bottom case screws are removed, lift the cover carefully; watch out for hidden screws under rubber feet or stickers.
The order of operations is strict. You must disconnect all ribbon cables before attempting to remove the keyboard or palm rest assembly, otherwise you will tear the delicate connectors and turn a simple jack replacement into a total board rebuild.
Take photos at every step. It helps later when things get messy.
If your laptop uses a dedicated daughterboard for power input, like an Dell XPS M1530 USB DC-IN Power Jack Board, the process is significantly easier because there is no heavy soldering involved.
Soldering and Reassembly
Clean the old pads. Use flux to ensure the new solder flows smoothly into every joint without creating cold connections or bridges between pins.
When you replace a soldered component, avoid overheating the surrounding traces. If you hold the iron on the pad for too long, the copper trace will lift right off the fiberglass substrate, which is a nightmare to fix.
Once the new jack is seated and the solder looks shiny and smooth, it is time for the most important step. Before you screw everything back together, use your multimeter to measure between the jack center pin and ground; you should see exactly 19V or 19.5V depending on your specific adapter's rating.
If the voltage is steady, proceed with reassembly in reverse order. If you are working on a vintage machine, like an IBM Thinkpad T40 T41 T42 T43 R50 DC Power Jack, be extra mindful of the aged plastic clips that become brittle over twenty years.
Test it again once closed. It's better to find a loose connection now than after an hour of reassembly.
Always double-check your ribbon cable seating. A single misaligned pin will prevent the laptop from booting or cause specific peripherals like the trackpad to fail immediately upon power-up.
Frequently Asked Questions
How can I tell if my laptop's charging port is broken?
Common signs include the charger only working at a specific angle, a loose or wobbly jack, a burnt plastic smell, or no power reaching the battery at all.
Do I need special tools to replace a DC jack?
Yes. You typically need precision screwdrivers (Phillips #0 or Torx T5/T6), a spudger for prying, and if the jack is soldered, a soldering iron with flux and solder.
What voltage should I look for when testing a new jack?
Most laptops use a 19V or 19.5V power supply. Use a multimeter to check the voltage between the center pin of the jack and a ground point on the motherboard.
Is it better to buy a soldered jack or a plug-in cable?
A plug-in cable is much easier for DIY repairs because it requires no soldering. However, many modern thin laptops require soldering the jack directly to the motherboard.